1. Take the vehicle to a level ground for installation.
2. Empty the gearbox oil, check cleanliness. If the oil is dirty or contaminated, it should be replaced. If the level is low, add oil of the type recommended by the manufacturer in the quantity recommended.
3. The vehicle to be mounted with the PTO must be fixed on a suitable platform for the operation (a canal or lift, etc.). The parking brake is to be applied, the gear must be in neutral position, and the engine is to be stopped.
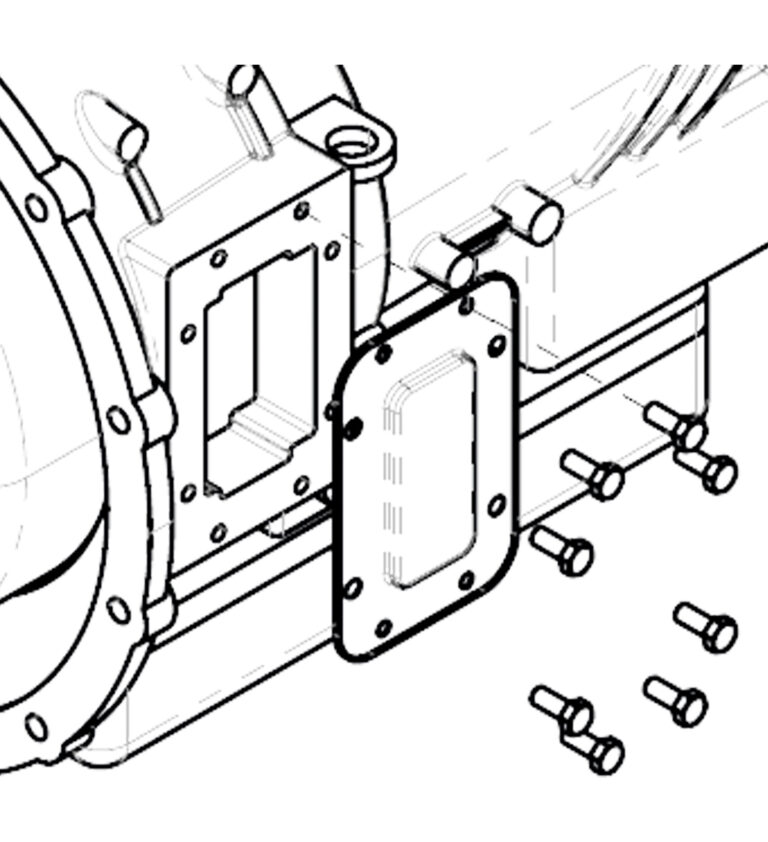
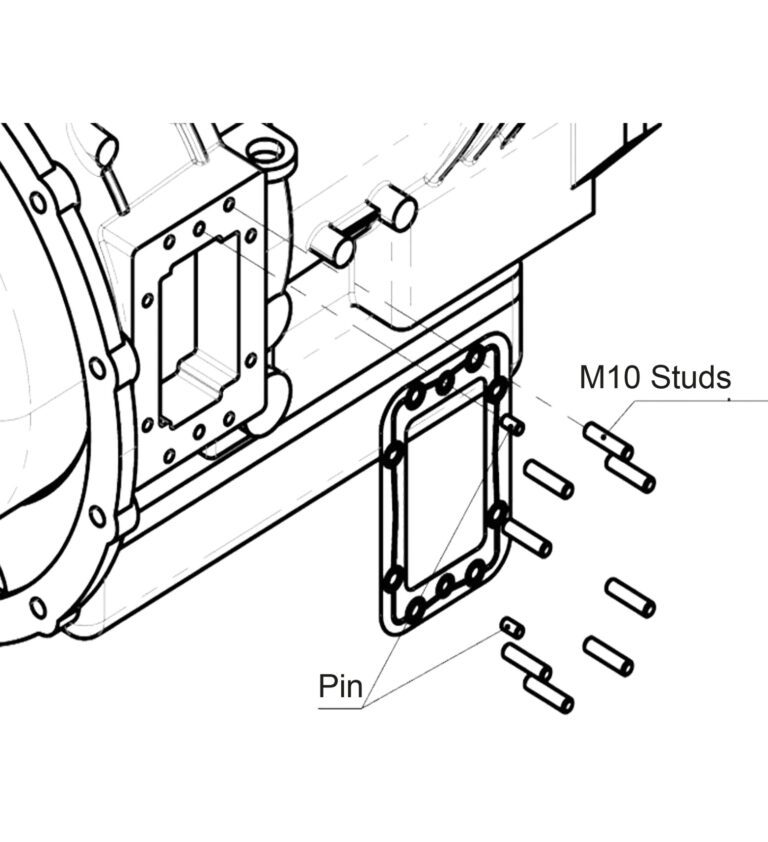
4. Mount the studs on the transmission using a suitable torque value. Please also apply threadlocker glue on the studs to prevent loosening due to vibration.
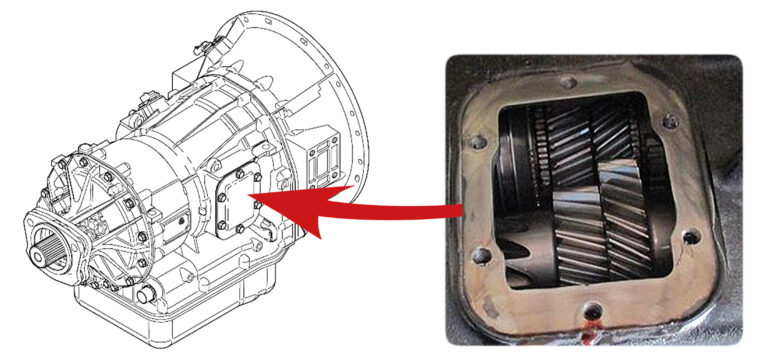
PTO Connection Surface
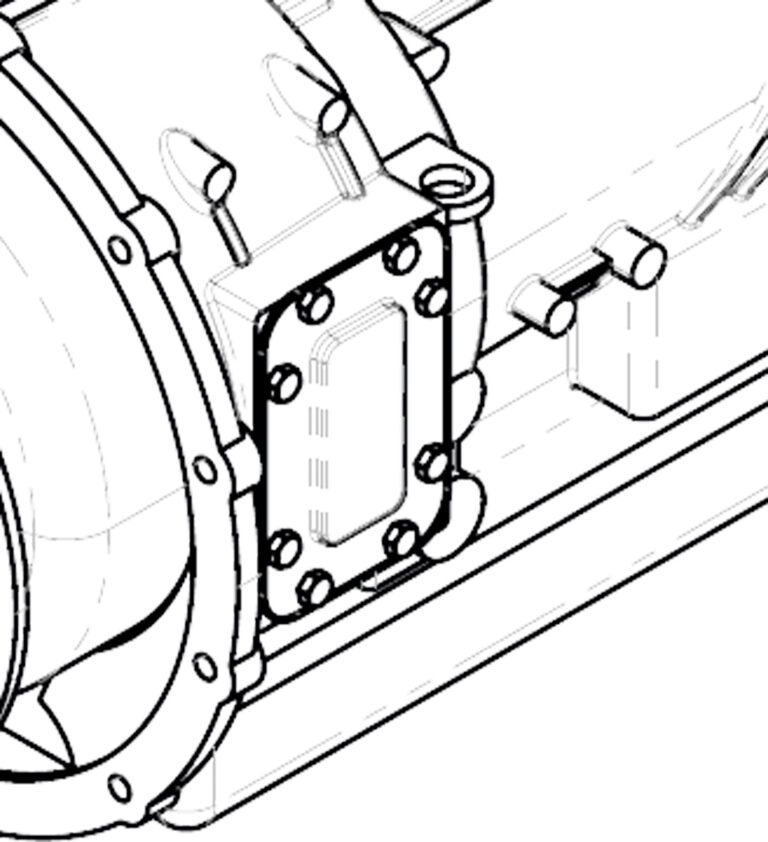
PTO installation cover.
Remove the bolts and cover.
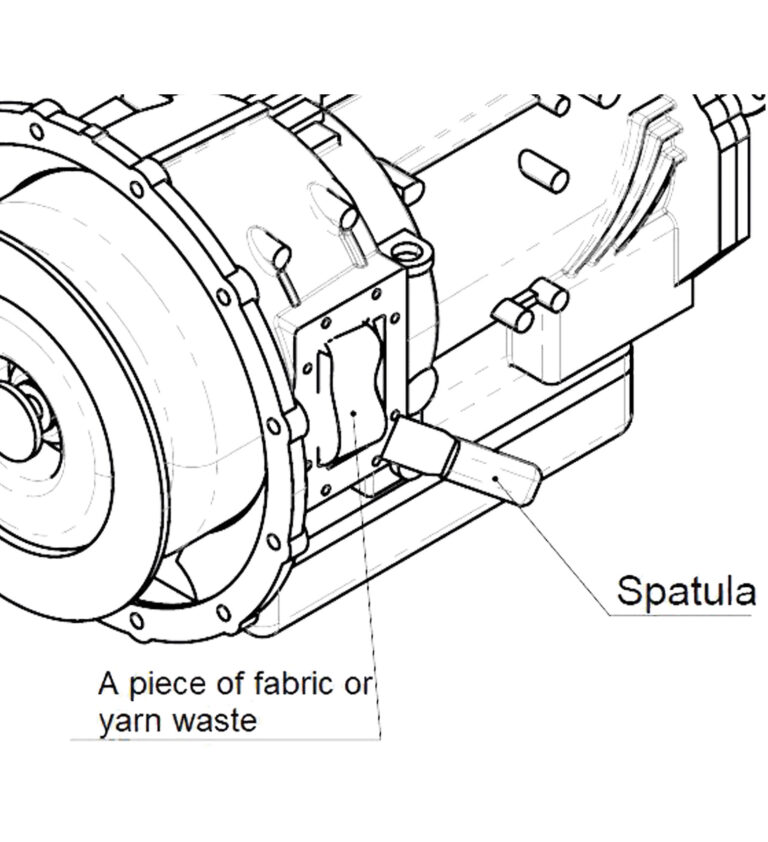
If necessary, use a spatula to clear the surface, gasket residue, or oil.
Make sure to use a piece of fabric or yarn waste to cover the opening when cleaning the surface to avoid foreign objects entering the transmission.
Mount the studs on the transmission using a suitable torque value. Please also apply threadlocker glue on the studs to prevent loosening due to vibration.
The images above are examples only.
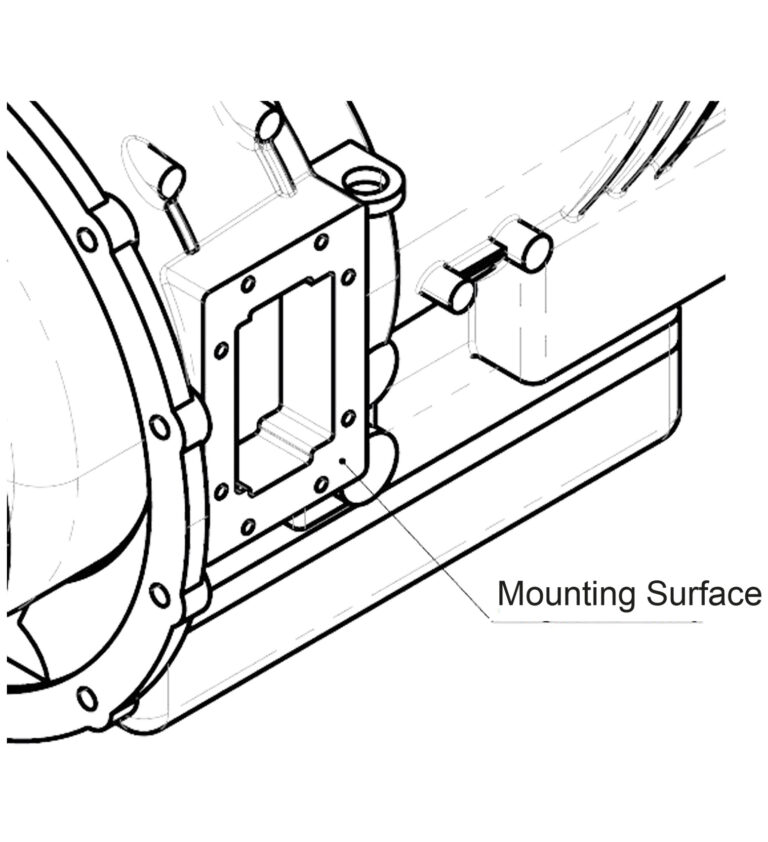
5. During the mounting operation, apply a film layer of grease on the front and rear faces of the gasket, then attach it between the main transmission and PTO connection surfaces.
6. The PTO body is to be mounted on the main transmission surface to allow matching of corresponding gears. The running backlash is checked through the inspection hole on the PTO.
7. Tighten nuts and bolts on the transmission using a suitable torque value. Please also apply threadlocker glue on the nuts and bolts to prevent loosening due to vibration.
8. Once PTO mounting has been completed, the connection components need to be inspected just in case.
9. The main transmission oil is then poured back into it from the container it had been put into, and then the oil plug is fastened. (If the oil has expired, new oil must be added.)
10. The PTO engaging system will be assembled. (This can be air hoses, control cable and lever, or electric wiring, depending on the control type.)
Once mounting is over, the vehicle needs to be started and kept in idle rotation for about 30 seconds to achieve lubrication of the system. Next, inspect the PTO–main transmission connection for oil leakage.
Backlash inspection hole might not be available on every model.
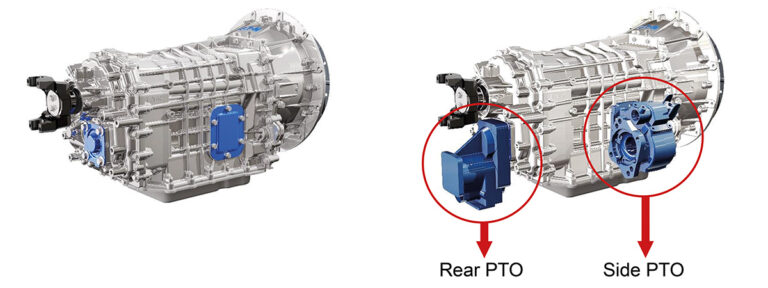
Illustration of Side and Rear Mounted PTOs
11. Run the engine (transmission and Allison PTO in neutral position) for a few seconds and check if there are any unnatural noises. Stay away from rotating shafts and components.
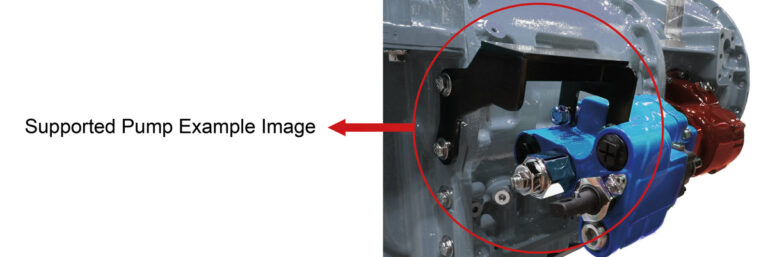
12. In case the hydraulic pump, which will be installed on the PTO, is 40 lbs or heavier and the length is 12″ or longer, the pump must be supported by a bracket to avoid damaging the PTO. Otherwise, the PTO will carry all the load and may get damaged over time.
✓ PTO temperature might sometimes have a negative influence, and the temperature needs to be lowered in case of overheating.
✓ More frequent oil changes must be conducted in heavy-duty operations.
✓ Where the PTO is side-mounted, make sure to inspect the backlash.
✓ Where the PTO is rear-mounted and used in heavy-duty operations, extra lubrication must be provided.